Connecting to Database
Apache Doris adopts the MySQL network connection protocol. It is compatible with command-line tools, JDBC/ODBC drivers, and various visualization tools within the MySQL ecosystem. Additionally, Apache Doris comes with a built-in, easy-to-use Web UI. This guide is about how to connect to Doris using MySQL Client, MySQL JDBC Connector, DBeaver, and the built-in Doris Web UI.
MySQL Client
Download MySQL Client from the MySQL official website or use the pre-installed MySQL client for Linux provided by the Apache Doris community. Currently, Doris is primarily compatible with MySQL 5.7 and later clients.
Extract the downloaded MySQL client. In the bin/ directory, find the mysql command-line tool. Execute the following command to connect to Doris:
# FE_IP represents the listening address of the FE node, while FE_QUERY_PORT represents the port of the MySQL protocol service of the FE. This corresponds to the query_port parameter in fe.conf and it defaults to 9030.
mysql -h FE_IP -P FE_QUERY_PORT -u USER_NAME
After login, the following message will be displayed.
Welcome to the MySQL monitor.  Commands end with ; or \g.
Your MySQL connection id is 236
Server version: 5.7.99 Doris version doris-2.0.3-rc06-37d31a5
Copyright (c) 2000, 2018, Oracle and/or its affiliates. All rights reserved.
Oracle is a registered trademark of Oracle Corporation and/or its affiliates. Other names may be trademarks of their respective owners.                                     Type 'help;' or '\h' for help. Type '\c' to clear the current input statement.          mysql>
MySQL JDBC Connector
Download the corresponding JDBC Connector from the official MySQL website.
Example of connection code:
String user = "user_name";
String password = "user_password";
String newUrl = "jdbc:mysql://FE_IP:FE_PORT/demo?useUnicode=true&characterEncoding=utf8&useTimezone=true&serverTimezone=Asia/Shanghai&useSSL=false&allowPublicKeyRetrieval=true";
try {
    Connection myCon = DriverManager.getConnection(newUrl, user, password);
    Statement stmt = myCon.createStatement();
    ResultSet result = stmt.executeQuery("show databases");
    ResultSetMetaData metaData = result.getMetaData();
    int columnCount = metaData.getColumnCount();
    while (result.next()) {
        for (int i = 1; i <= columnCount; i++) {
            System.out.println(result.getObject(i));
        }
    }
} catch (SQLException e) {
    log.error("get JDBC connection exception.", e);
}
DBeaver
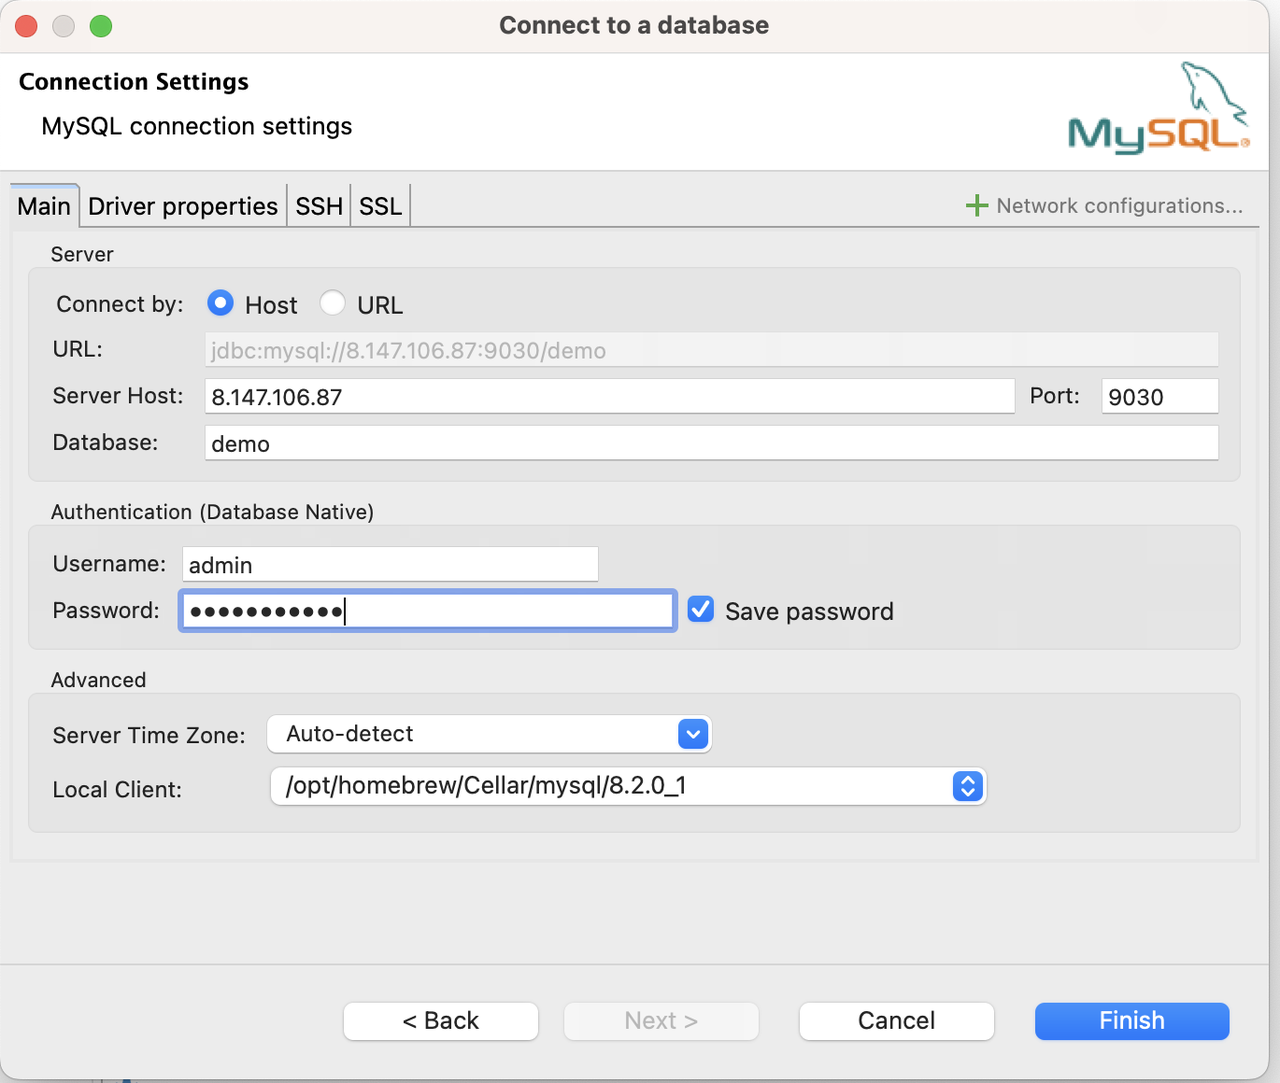
Create a MySQL connection to Apache Doris:

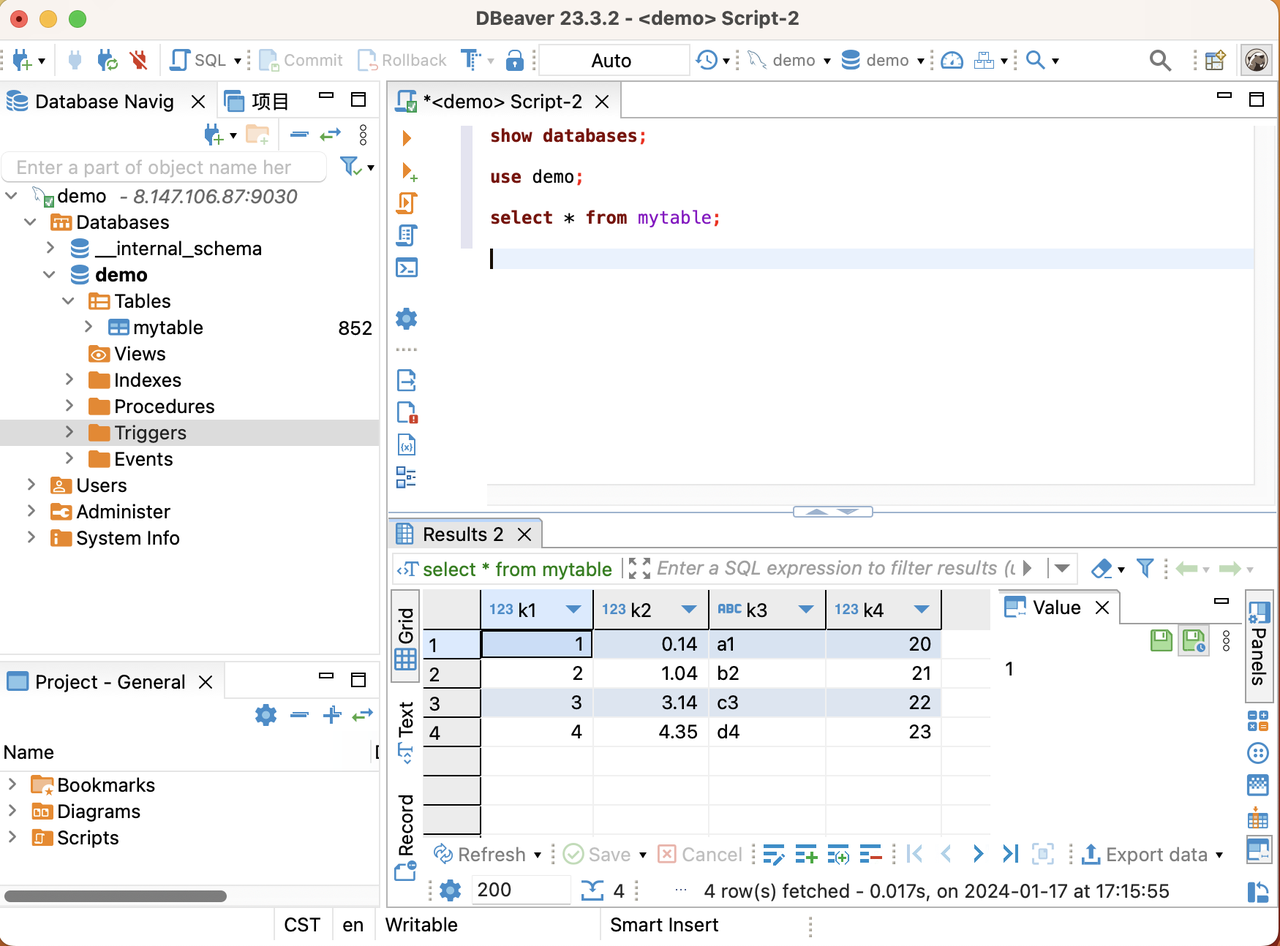
Query in DBeaver:

Built-in Web UI of Doris
Doris FE has a built-in Web UI. It allows users to perform SQL queries and view other related information without the need to install the MySQL client
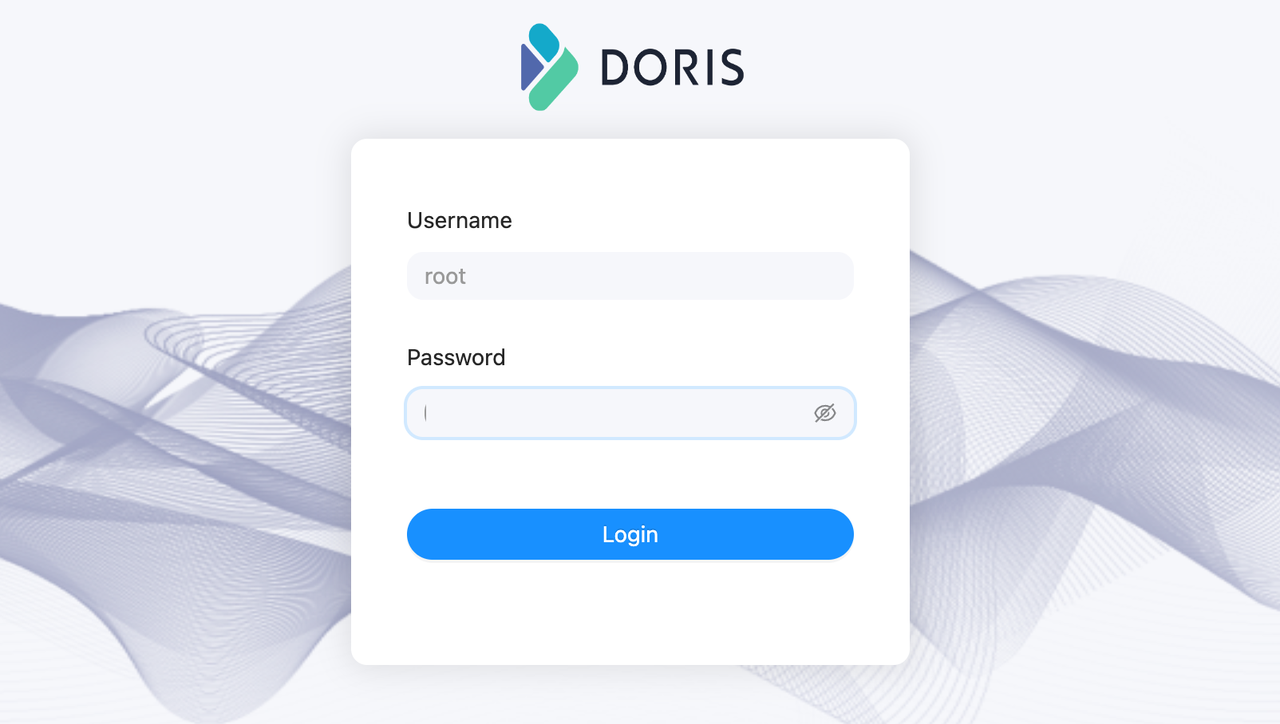
To access the Web UI, simply enter the URL in a web browser: http://fe_ip:fe_port, for example, http://172.20.63.118:8030. This will open the built-in Web console of Doris.
The built-in Web console is primarily intended for use by the root account of the cluster. By default, the root account password is empty after installation.

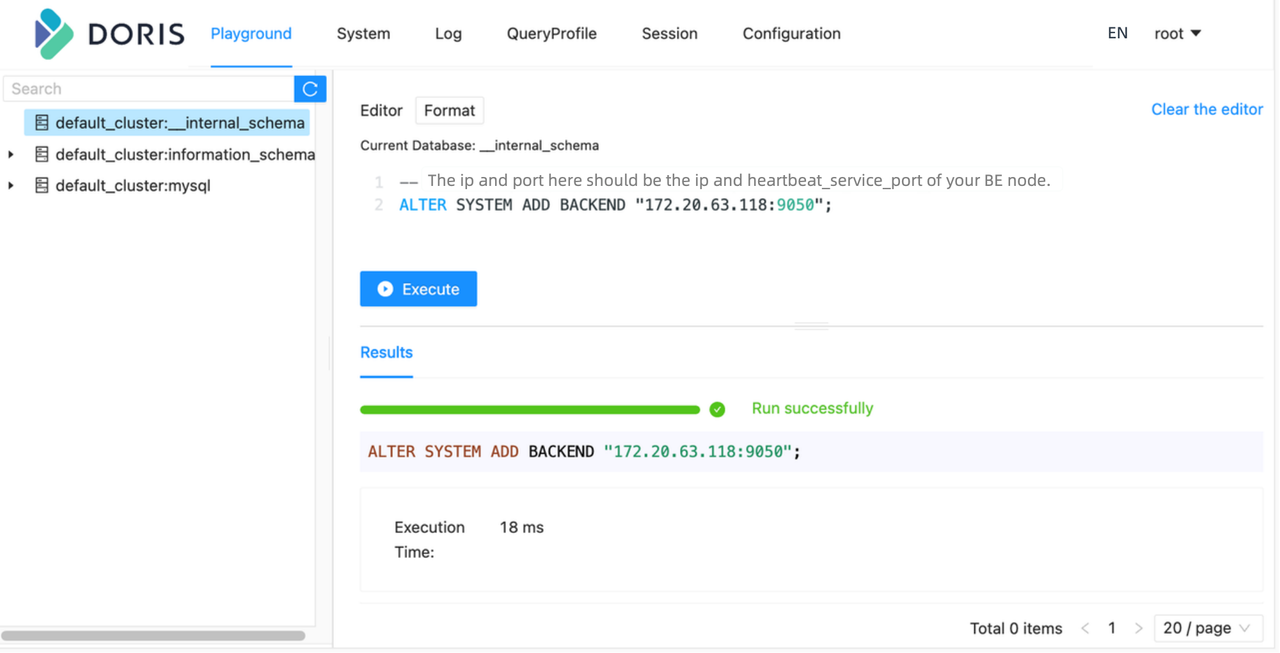
For example, you can execute the following command in the Playground to add a BE node.
ALTER SYSTEM ADD BACKEND "be_host_ip:heartbeat_service_port";

For successful execution of statements that are not related to specific databases/tables in the Playground, it is necessary to randomly select a database from the left-hand database panel. This limitation will be removed later.
The current built-in web console cannot execute SET type SQL statements. Therefore, the web console does not support statements like SET PASSWORD FOR 'user' = PASSWORD('user_password').

